Introduction
If you’ve purchased the eCommerce CDN package and want to use it with your Wordpress site, this guide will show you how. Please note that you’ll need to have already created the CDN resource within your Billing panel first. Please see this guide before proceeding.
You’ll also need to ensure that your CDN resource has propagated before proceeding. If you navigate to the URL for your CDN resource in your web browser, you should be able to see your site if it’s correctly propagated.
To integrate your Ecommerce CDN with your Wordpress site, we’re going to install and use a plugin called CDN Enabler.
1) Log in to your WordPress site.
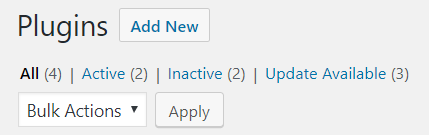
2) Select Plugins from the left-hand menu bar and click Add New.
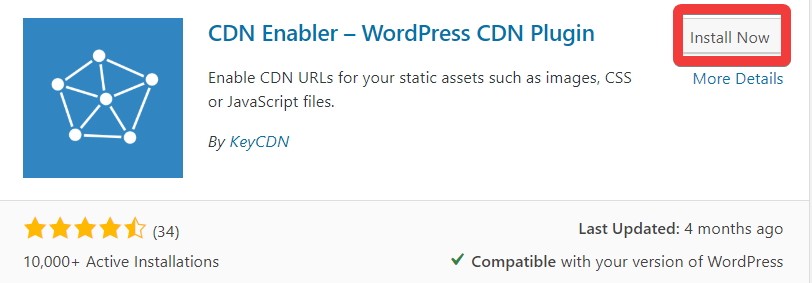
3) Type CDN Enabler into the plugins search bar and press enter.

4) Under CDN Enabler -Wordpress CDN Plugin in the search result, click Install Now.
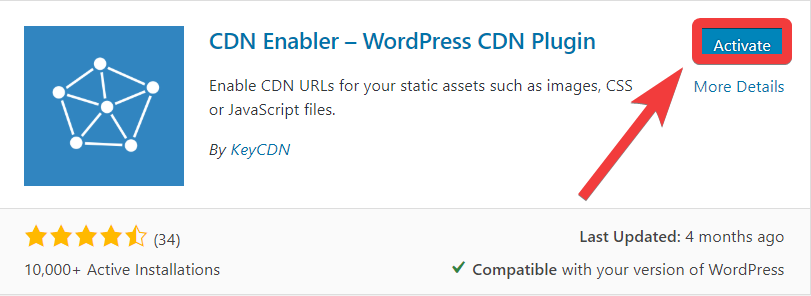
5) Once the plugin has installed, click Activate.
6) From the list of your plugin, select Settings for the CDN Enabler plugin.

7) In the field for CDN URL, enter the URL for your CDN resource without the trailing /.

8) In the same menu, if your site uses SSL then you’ll need to check the box next to CDN HTTPS (Enable CDN for HTTPS connections).

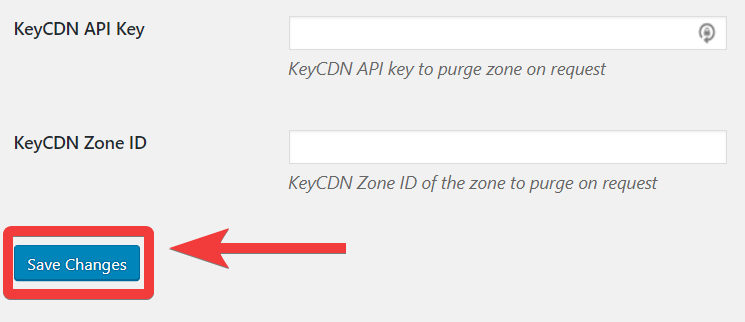
9) Click Save Changes to confirm the configuration changes you’ve made.
You have now set up eCommerce CDN for your WordPress site. We recommend checking your site after making this change to confirm it is functioning as anticipated.