Getting started
This guide will teach you how to do some basic operations within the Plesk panel, such as updating DNS records for your domain, switching your site onto a new version of PHP or giving access to your panel to a 3rd party. This guide assumes that you’ve already created a subscription and domain within the Plesk control panel.
Updating DNS records
You will only be able to update your domain’s DNS records from within the panel if the domain uses our nameservers (ie: ns1.nufuturenet.com, ns2.nufuturenet.com). If the site does not use our DNS, you can still make these changes, but they won’t make any difference at all to your domain’s live DNS records.
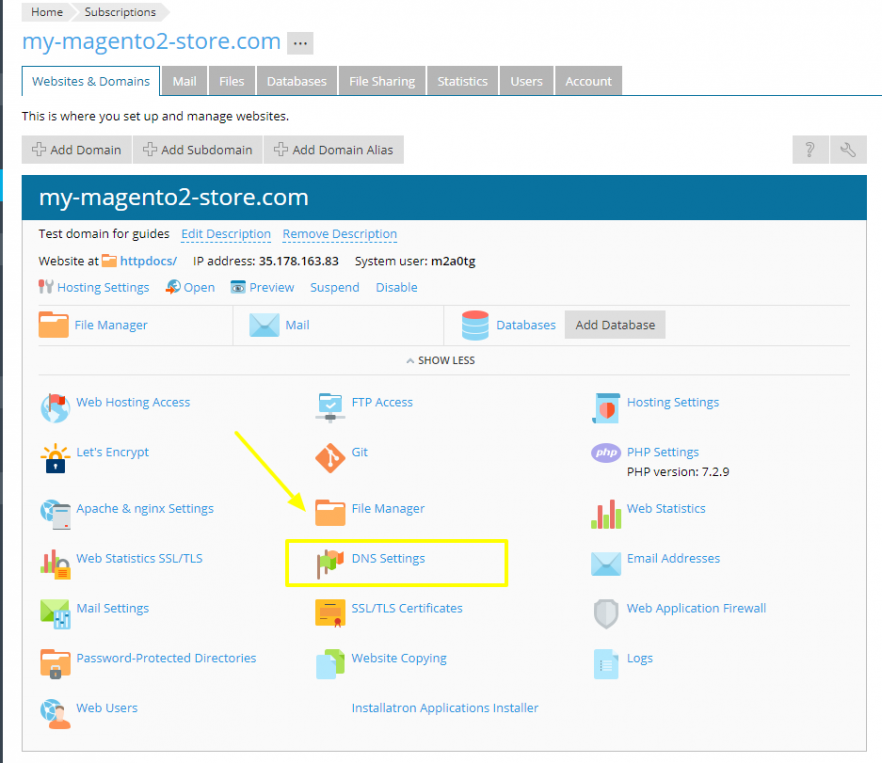
Log into your Plesk Control Panel and browse to your domain, click Show More to see more tools, then select the DNS Settings tool.
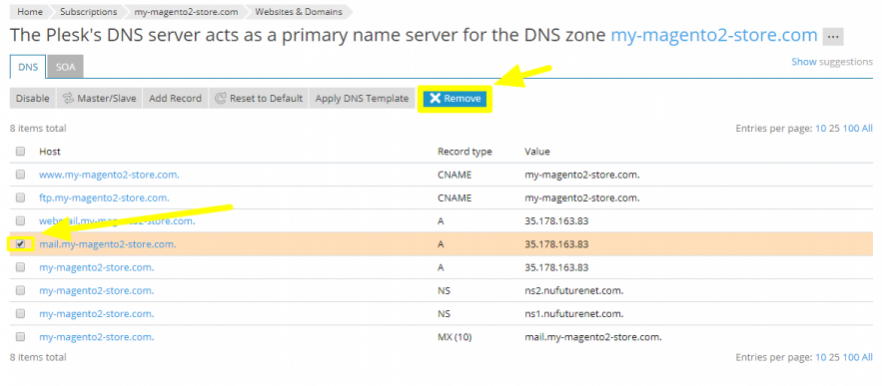
From this menu you can edit an existing record by clicking on it, or you can choose to add a new record. In this example, we’ll add records for my domain to use Google Mail. We’ll begin by removing the current A record for mail.my-magento2-store.com. You can remove a record by checking the box next to it and clicking on ‘Remove’.
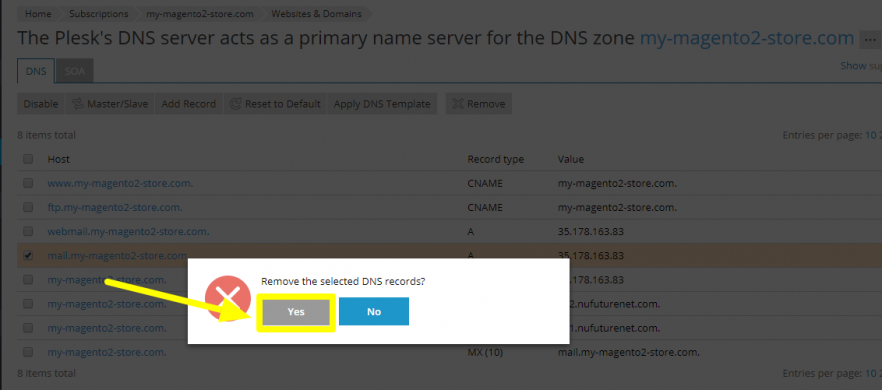
You’ll need to confirm the change in the pop-up menu by selecting Yes.
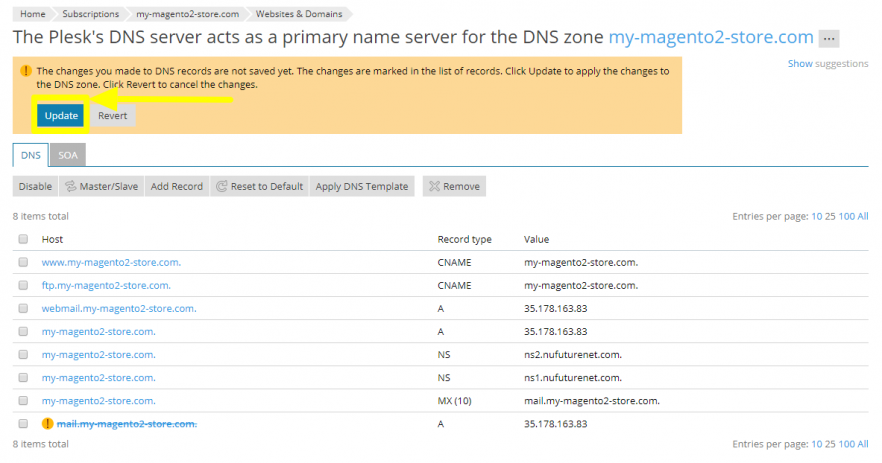
In the next screen, you’ll notice that the deleted record is still there but appears with a line struck through it. This is because any changes to your domain’s DNS zone need to be confirmed before the changes take effect. To do this, you can click Update at any point to confirm the change(s) you’ve made, or hit Revert to cancel them.
To add a completely new DNS record, select Add Record. You can then create your DNS record by selecting the record type and entering the values you need. Click OK to add the new record.
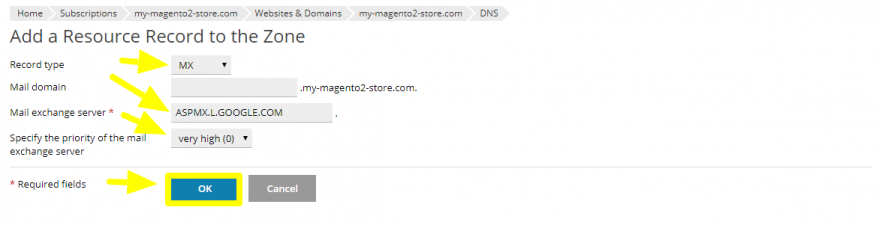
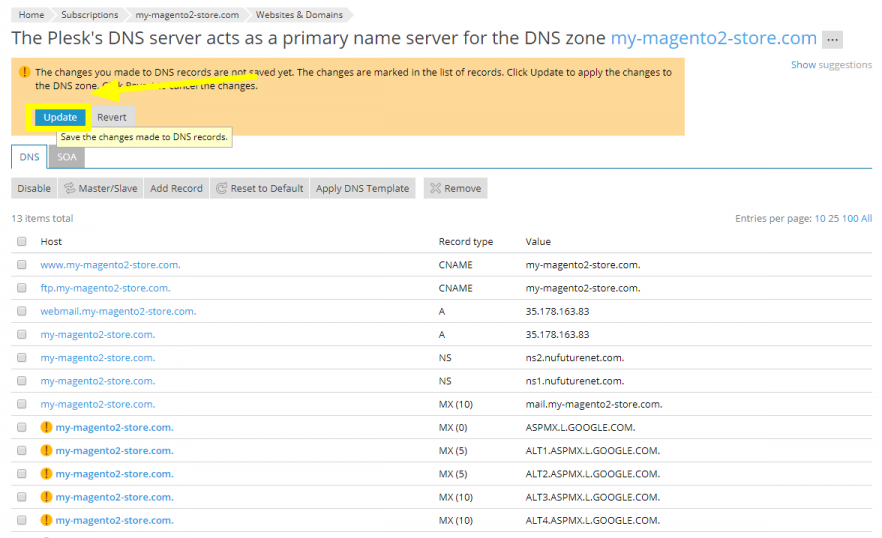
In this example, you’ll need to repeat the process multiple times to create all the MX record Googlemail requires.
When you’re done, click Update to confirm the changes to your domain’s DNS.
Please bear in mind that ANY DNS changes you’ve made will not be instantaneous. They take time to propagate out globally and it can take up to 48 hours for this to complete, although in most cases we would anticipate this to complete inside of 3-4 hours. Once again, if your domain does not use our nameservers currently then the changes here will not take effect (unless you’re planning to update to them once you’ve made the changes).
Disabling Plesk's mail service
In the above example, I’ve updated DNS records to switch my domain to use an external mail provider so there’s one final stage to get my mail working. I’ve set up my domain to use external mail but previously it was using mail hosted on the server, so I need to disable the server’s mail service.
If the option is there, Plesk will try to route mail through the server in a misguided attempt to be efficient and bypass the DNS look-up process. (If your site ever has a broken contact form and uses external mail, this is one of the first things you should check!)
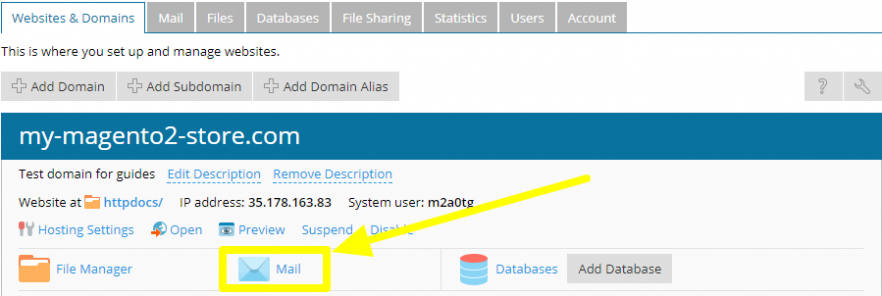
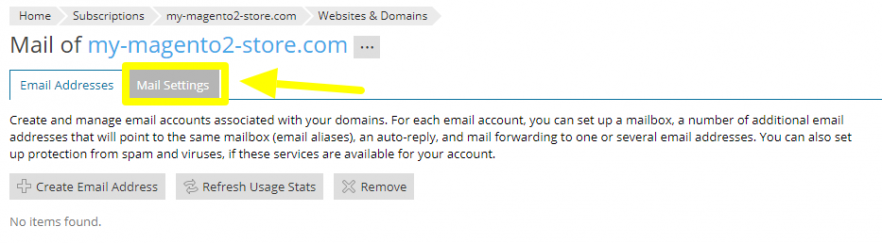
In order to disable mail, browse to the Mail tool and then select Mail Settings.
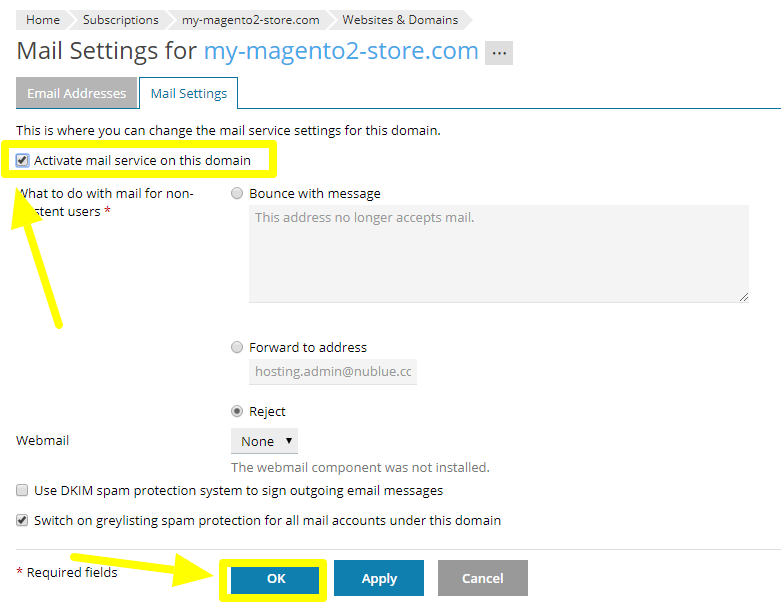
Uncheck the box next to Activate mail service on this domain and confirm by selecting OK.
Switch your site to a new version of PHP
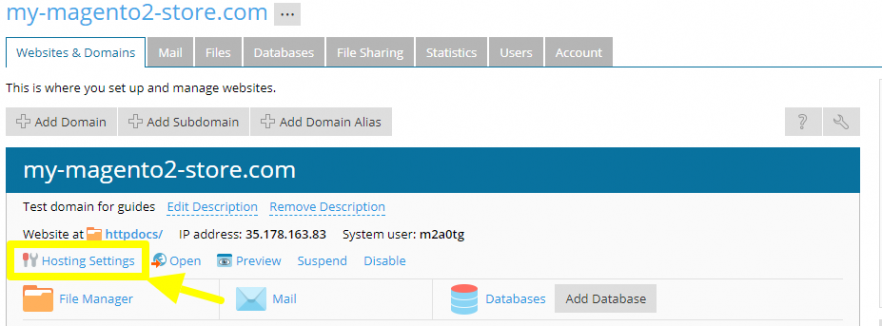
To select a new version of PHP and/or a new PHP handler for your site, you’ll need to log into your Plesk panel and select your domain. Select Hosting Settings.
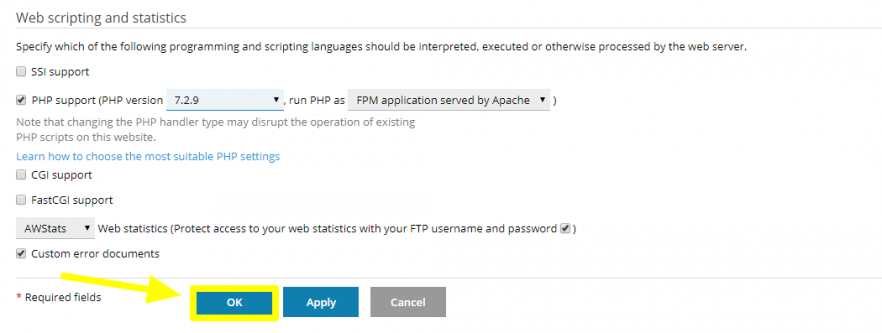
Under the menu for Web scripting and statistics you can select both the PHP handler and PHP version for your site. In this example, I’ve switched my domain onto PHP 7.2.9.

We recommend using the FPM-Apache PHP handler. If your site does not already use this, you can select it from the second drop-down menu. Click OK to confirm the changes to your domain.
Create an additional admin user
You may wish to create a secondary login for your server so that a colleague can have the same access to all sites on your server as you do under a different username. The easiest way to do this is to create an additional admin user. Note: you cannot do this on a shared hosting account.
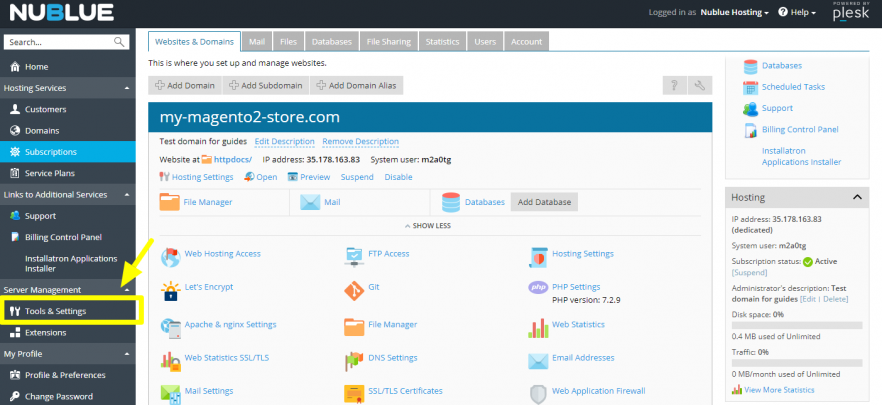
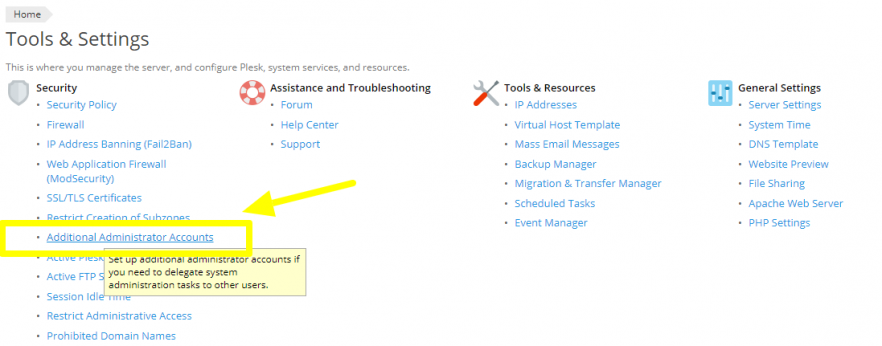
You can do this by browsing to Tools & Settings in the left-hand sidebar, then Additional Administrator Accounts.
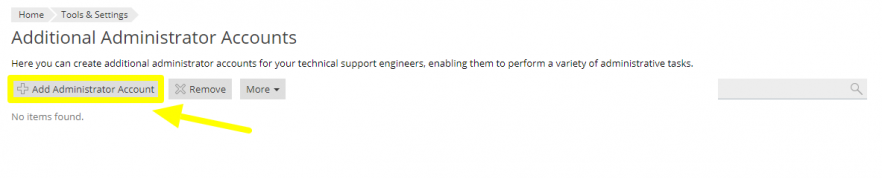
Now click Add Administrator Account.
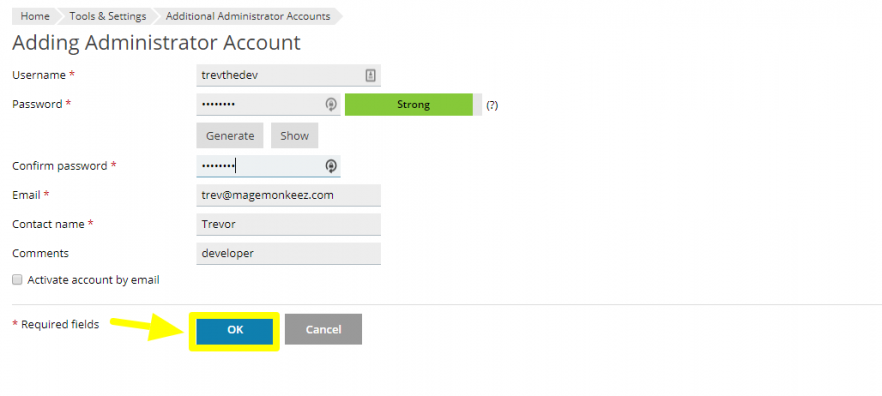
In this menu you can specify a username, password and email address to give the user full administrative access to the server. You retain overall authority over the server, which means you can amend or remove this additional user’s account at any time. Click OK to confirm the new user’s credentials. You’ll need to supply the username and password to your new admin user, unless you choose to check the Activate account by email option.
Create a domain administrator user
Alternatively, you may only wish to give access to a single subscription instead of the entire server. This is useful when you need to give access to a third party, such as your development team. You can also rescind this access after their work is done or at any time you choose. Please note that these steps will give access to all domains under a single subscription.
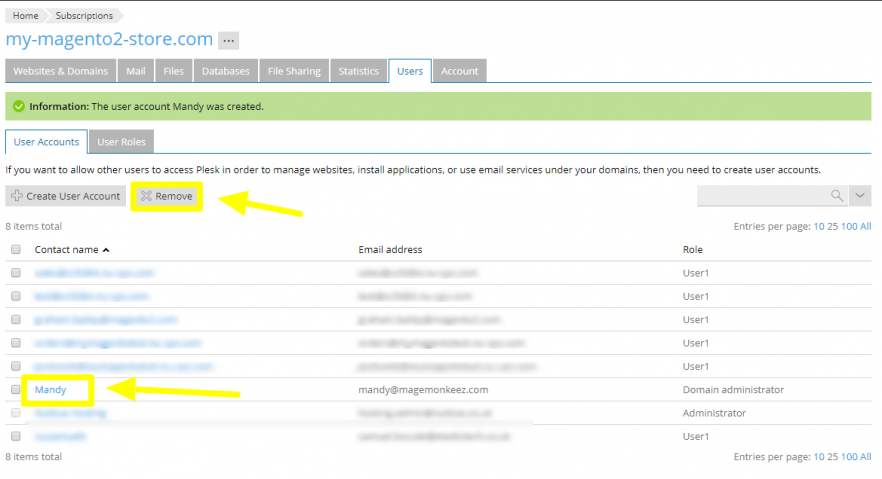
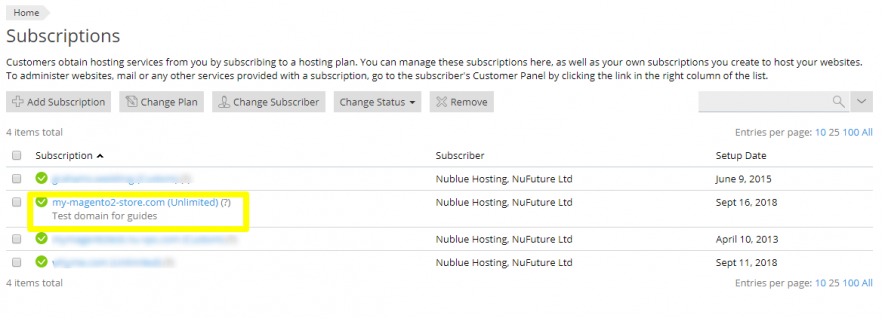
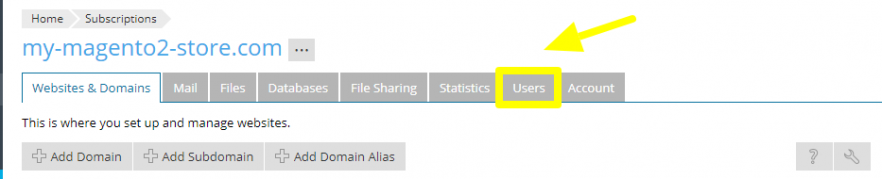
In the Plesk panel, browse to Subscriptions in the left-hand sidebar. Select your subscription and browse to the Users tab.
Next select the User Roles tab. This allows you to create a custom user role and customise the permissions for the user. Select Create User Role to proceed.

In this menu, name your role - we’d suggest Domain Administrator, but you can use something more descriptive if you like. You can then toggle the permissions for this user from Denied to Granted, depending on the level of access you want them to have. In this example, I’ve given my user the ability to create and manage both databases and additional FTP accounts.
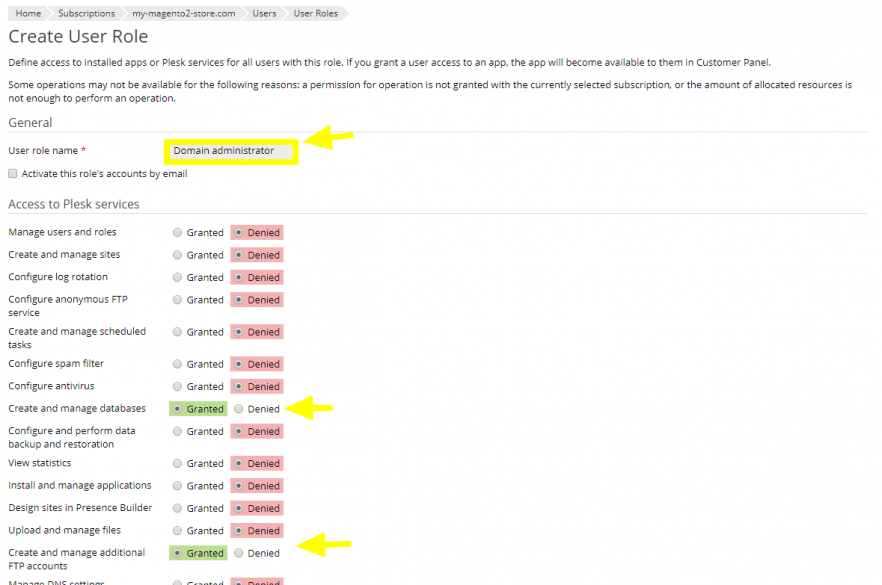
Click OK to save the new user role.
Now you need to create a user and assign them to this rule, so browse to the User Accounts tab and select Create User Account. Make sure you select the desired role from the User Role drop-down menu.

Please note that you also need to select the subscription you wish the user to have access to from the dropdown menu too. The default option is access to all subscriptions so you must ensure you update this, unless you wish the user to have access to all subscriptions.
You can assign this user to a pre-existing email address, or create a new email address just for this purpose. You can also specify a username and password for the user.
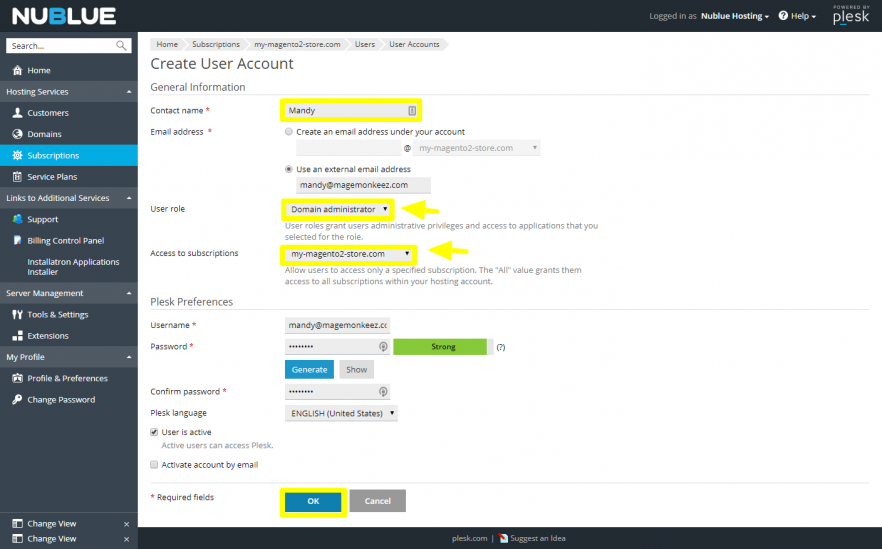
Click OK to confirm when you’re done. The user should now be able to access your Plesk panel using the logins you’ve just created or will receive logins via email if you check the option for Activate account by email.
As an aside, it’s worth creating a backup of your site before giving access to a third party.
You can rescind access for this user in the future by simply updating the password for them so that they’re no longer to add in. Alternatively you can remove the user altogether from the User Accounts tab by selecting the user and clicking Remove.