
How to secure your ecommerce store with a free Let’s Encrypt SSL
This guide will show you how to request a Let’s Encrypt certificate for your ecommerce store.
Who can use Let’s Encrypt?
All of our newest generation of hosting packages allow you to obtain a free Let’s Encrypt SSL certificate for your domain. The only requirement is that your domain’s DNS records point to your Nublue hosting, which means that you won’t be able to generate a free SSL certificate for your domain if:
• you’re developing a new site on your hosting whilst the site is live elsewhere
• your domain uses Cloudflare or a similar service that sits in front of your hosting
• your hosting package runs a version of Plesk pre-dating 12.5. You can contact our Support team to arrange a migration to a Let’s Encrypt compatible server.
Let’s Encrypt functions through an extension in your Plesk Control Panel. If you’re on a Plesk 12.5 or Onyx shared solution, the extension will already be available and you can skip ahead a bit. On the other hand, if you’re using our VPS or dedicated hosting solutions, you will need to install this extension first if you don’t already have it. Don’t let that put you off though because the installation is very easy to complete.
Installing the Let’s Encrypt Plesk extension
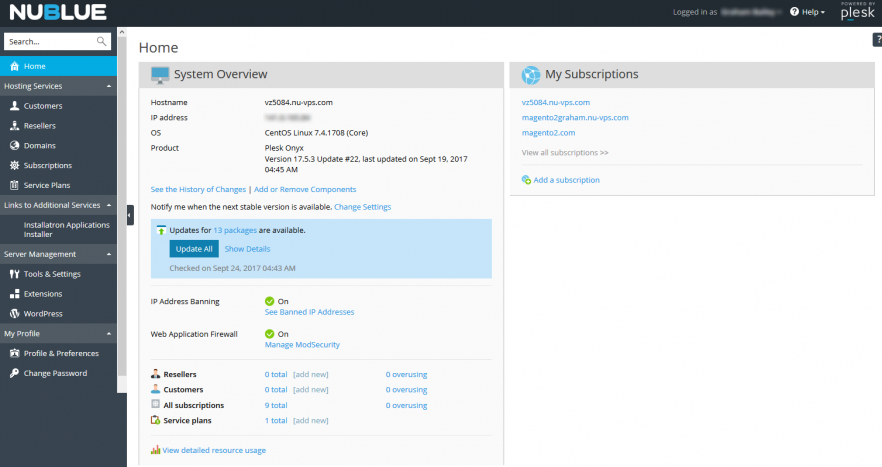
To check for the extension, navigate to your Plesk Control Panel and browse to Extensions in the left-hand sidebar.
From here you can select My Extensions to view currently installed extensions.
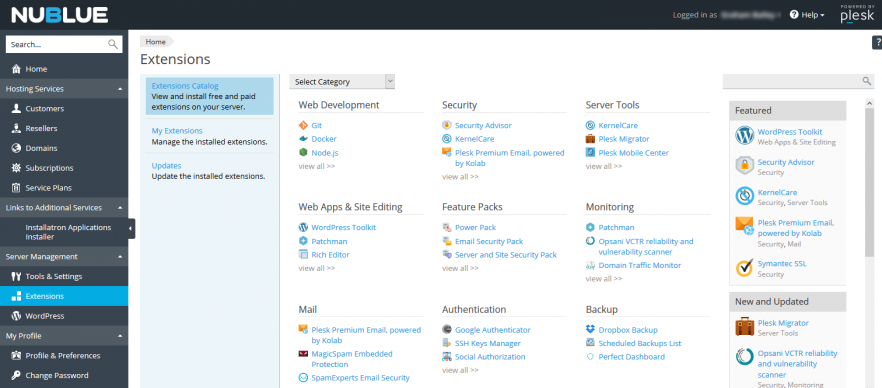
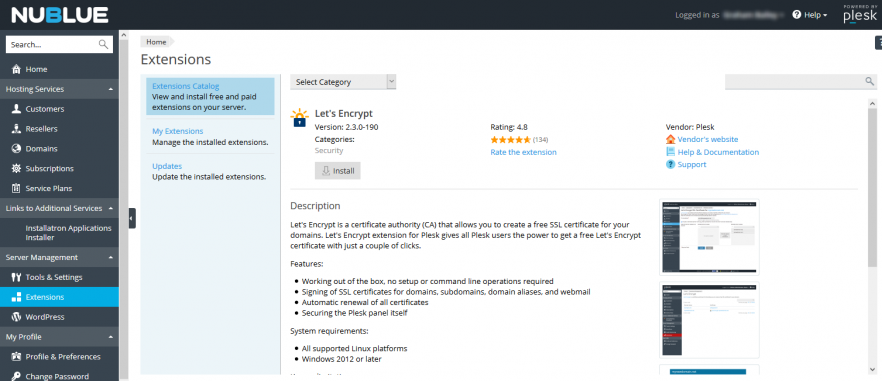
If you don’t find Let’s Encrypt in this list, you’ll need to select Extensions Catalog and enter Let’s Encrypt into the search box. Now you can hit Install.
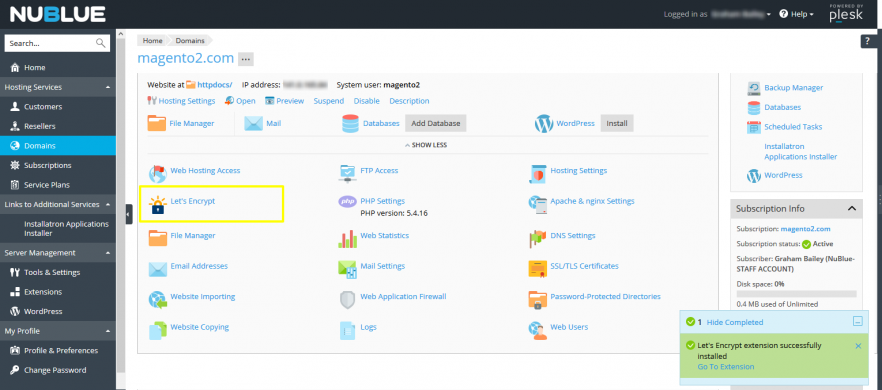
At this point, you should be able to see the Let’s Encrypt extension showing up in the tools section for individual domains within Plesk.
Requesting your Let’s Encrypt Certificate
To begin, browse to your domain via the Subscriptions menu in the left-hand sidebar. From here, select your site and click the Let’s Encrypt icon.
You’ll need to enter an email address to associate with your new SSL certificate. You should enter [email protected] into this field regardless of your hosting platform. The private key for your SSL will be held on a Nublue server which means that technically Nublue is the subscriber for your certificate.
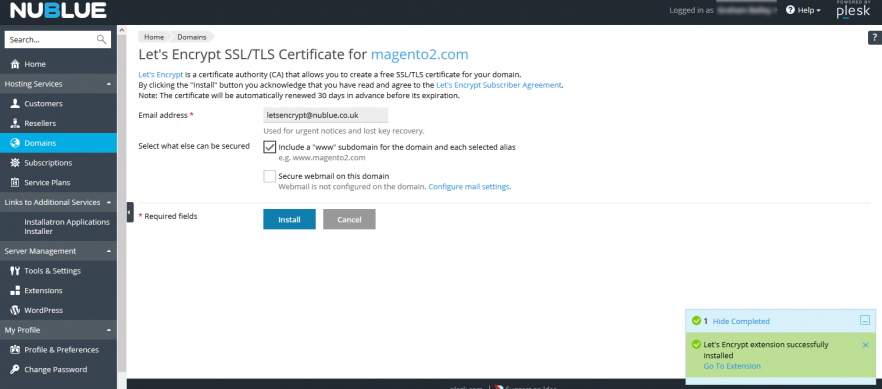
You’ll also need to check the box for “Include www.mydomain.com as an alternative domain name” if you want your SSL to cover both the www. and non-www. addresses for your site. When you’re ready, click Install and you should be greeted with a message in the Information bar to inform you that it has been successful. If you browse to the SSL certificates tool, you should also see your new Let’s Encrypt SSL listed and specified as in use for your site.
Congratulations, you’ve installed a free Let’s Encrypt SSL for your site!
However your store is not HTTPS-secured yet. Next you need to ensure that your site is configured to use the new certificate and load all elements over https-secured connections. You should also be aware of the following:
• Your Let’s Encrypt SSL should automatically renew every 3 months
• You cannot take this SSL with you if you migrate your site to a new platform. You’ll need to generate a new Let’s Encrypt SSL if you move your site to a new server.
Switch your store over to HTTPS
You’ll now need to configure your store to use your new SSL certificate. We’ll show you how to do this for our most popular applications: Magento 2, Magento 1 and Wordpress. The methods described here will move your entire store to HTTPS so you’ll need to take a slightly different approach if you only want to move certain pages to HTTPS.
Magento 2.x
To switch your Magento 2 site over to HTTPS, you’ll need to log into the admin area of your site and browse to Stores then Configuration. Next select Web from under the General menu.
You’ll now need to toggle the following 2 settings to “Yes”:
Use Secure URLs on Storefront
Use Secure URLs in Admin
You may need to refresh your store’s cache before you see these changes on your site. The method for this may be different depending on the way that your store’s configured, but the way to do this on a vanilla Magento 2 store is to browse to System then Cache Management. From here you can select Flush Magento Cache. You should be aware that your store will now show any other changes you’ve made since the last time the cache was refreshed. Alternatively you can flush your Magento store’s cache from the command line instead (see here for how to do this).
Magento 1.x
To switch your Magento 1 store over to HTTPS, you’ll need to log into the admin area of your site and browse to System then Configuration. Next select Web from under the General menu.
You’ll now need to toggle the following 2 settings to “Yes”:
Use Secure URLs in Frontend
Use Secure URLs in Admin
This will allow you to use HTTPS in both the backend of the store and the areas of the site that your customers will see.
You’ll also need to update the fields for Base URL to begin with https:// instead of http://. If you’ve specified a URL for Secure Base URL (as opposed to leaving it as the base_url, or secure_base_url placeholders), you’ll also need to update this field in the same way. Following this you’ll need to select Save Config. Note that you’ll need to make this change for each of your store views if you more than one and you want all of them to move to HTTPS. You may need to refresh your store’s cache before you see these changes on your site. The method for this may be different depending on the way that your store’s configured, but the way to do this on a vanilla Magento store is to browse to System then Cache Management. From here you can select Flush Magento Cache.
You should be aware that your store will now show any other changes you’ve made since the last time the cache was refreshed.
Wordpress
To switch your site over to HTTPS, you’ll need to update the base URLs for your site from within the Wordpress dashboard. Log into your Wordpress admin area, then browse to Settings, then General. From here, you’ll need to edit two fields:
WordPress Address (URL)
Site Address (URL)
Both of the above will need to be updated to use https:// (eg: https://your-domain-name.com).
Select Save Changes to confirm this change to your site. If you’re using any caching plugins, you’ll also need to refresh your Wordpress site’s cache before the changes take effect.
You’ll also need to add the rule into your .htaccess file to redirect any HTTP request to use HTTPS. This rule is at the bottom of this section:
Note that you’ll need to update yoursite.com to your actual domain name (unless you want your site to redirect to a page called “yoursite.com”!)
Alternatively if you would prefer not to touch your site’s .htaccess file and you’re using Plesk Onyx, you should be able to configure the redirect to HTTPS within the panel instead. Browse to your domain in the panel, then click Hosting Settings. Under the heading Security, you should be able to check the box next to the option for Permanent SEO-safe 301 redirect from HTTP to HTTPS. Whichever method you use, you should check that your site is still functioning as expected once you’ve made the changes.
RewriteEngine On
RewriteCond %{SERVER_PORT} 80
RewriteRule ^(.*)$
https://www.yoursite.com/$1 [R,L]
Checking for Mixed Content
No matter what type of site you’re using, once you’ve switched it to HTTPS you’ll need to ensure that it loads all elements over HTTPS-secured links as opposed to HTTP. This is crucial to avoid error messages for mixed content when browsing to the site. You can find any elements that load over HTTP by using this free online tool. Simply enter the URL of your site into this page and it’ll check and report back on any elements that load from non-secure sources.
To fix these, you may need to update links in your database to HTTPS instead of HTTP, or it could even be a hard-coded path in your code somewhere that needs updating to HTTPS (or – better still – a relative path). You may need to refresh your site’s cache after making these changes.
A note about security
Finally, although there are many advantages to using HTTPS/SSL on your website, this alone does NOT mean that your store can now be considered secure. Securing your website and hosting platform properly is much more complex than this but using SSL on your site is a start. If you have questions about our recommendations for securing your store or server, please get in touch with our Support team.