
news
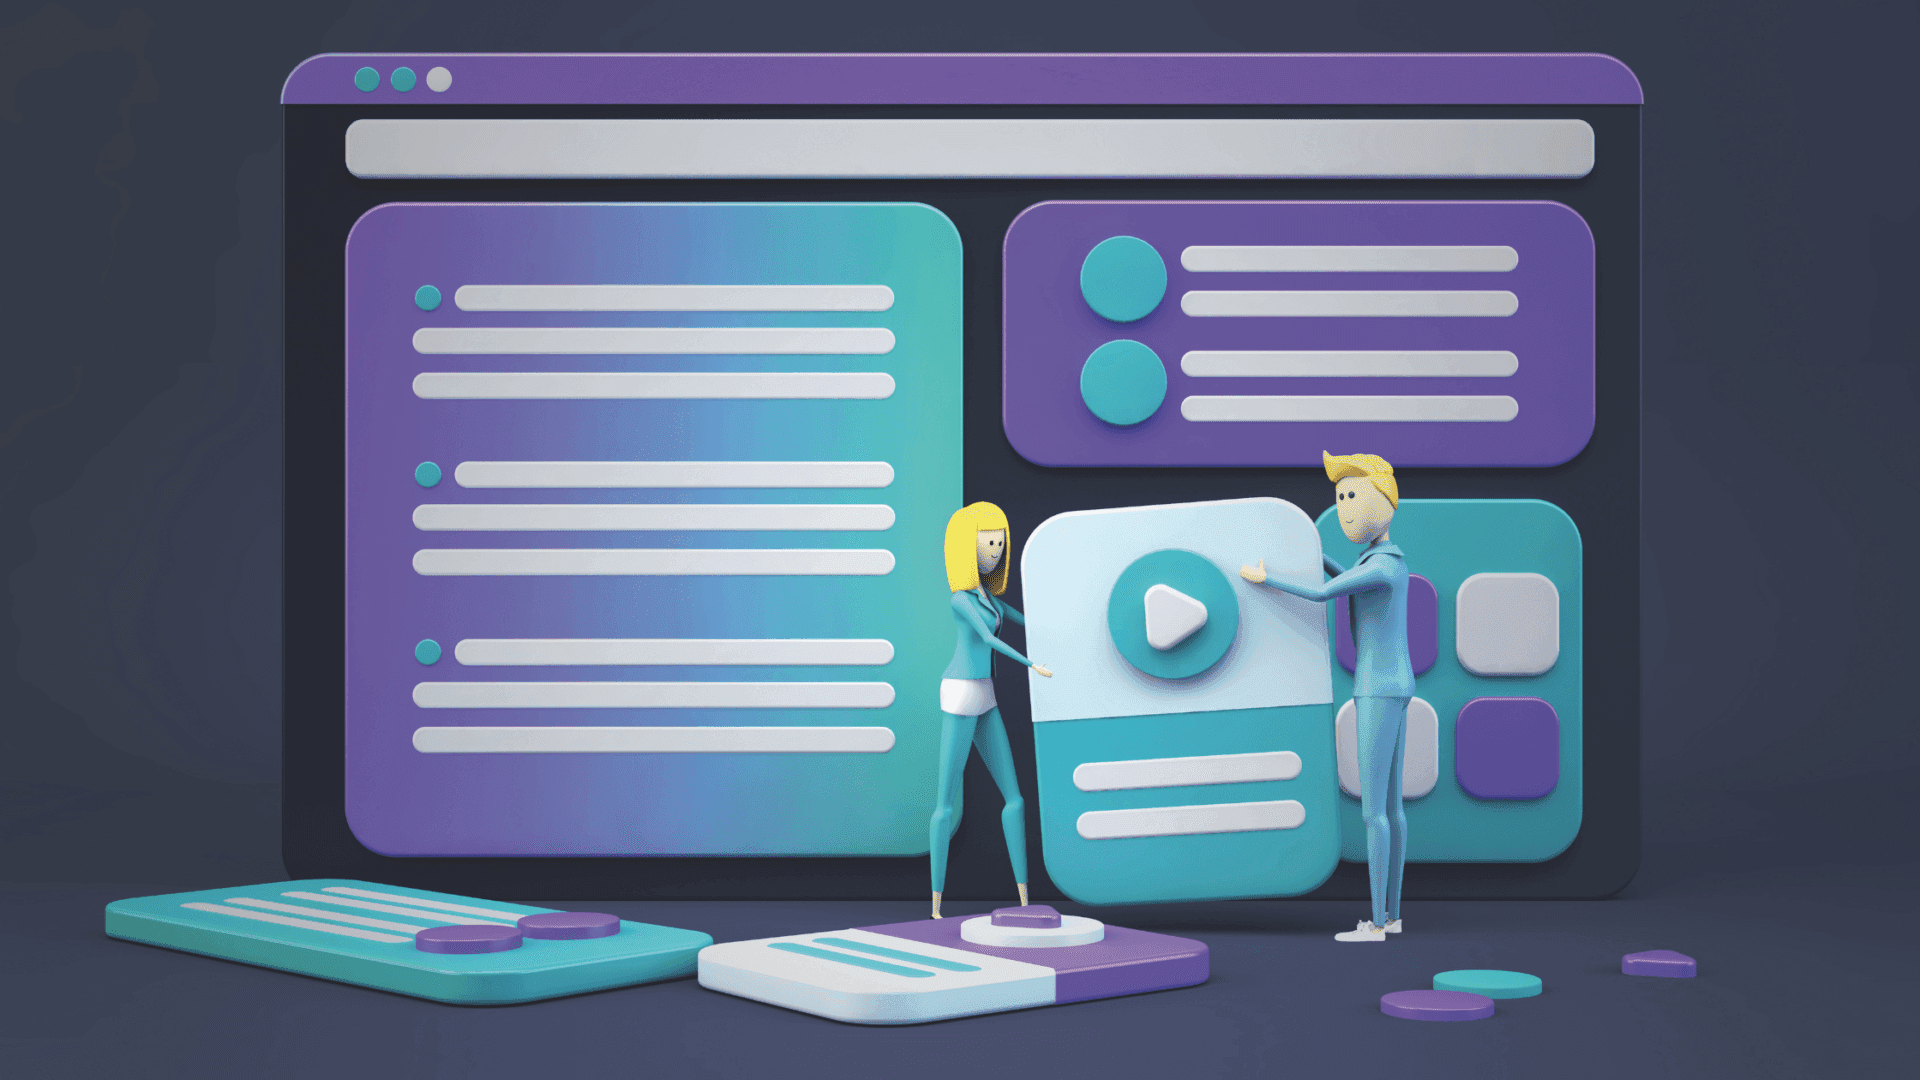
Social strategy in 2026: From noise to knowledge # Social & Influencer
Social strategy in 2026: From noise to knowledge
Insights on cloud hosting, ecommerce, and technology from our team.
Social strategy in 2026: From noise to knowledge

The post-Like economy: Where saves are the new backlinks
Chris joins CTI from Oliver Agency where he most recently held the position of UK Group COO. Previously he was the UK Group MD of Oliver and MD of Dare,…
Most organisations are aware of Cloudflare and the core benefits of the platform, such as the Web Application Firewall and Content Delivery Network, which both protect your application from DDOS…
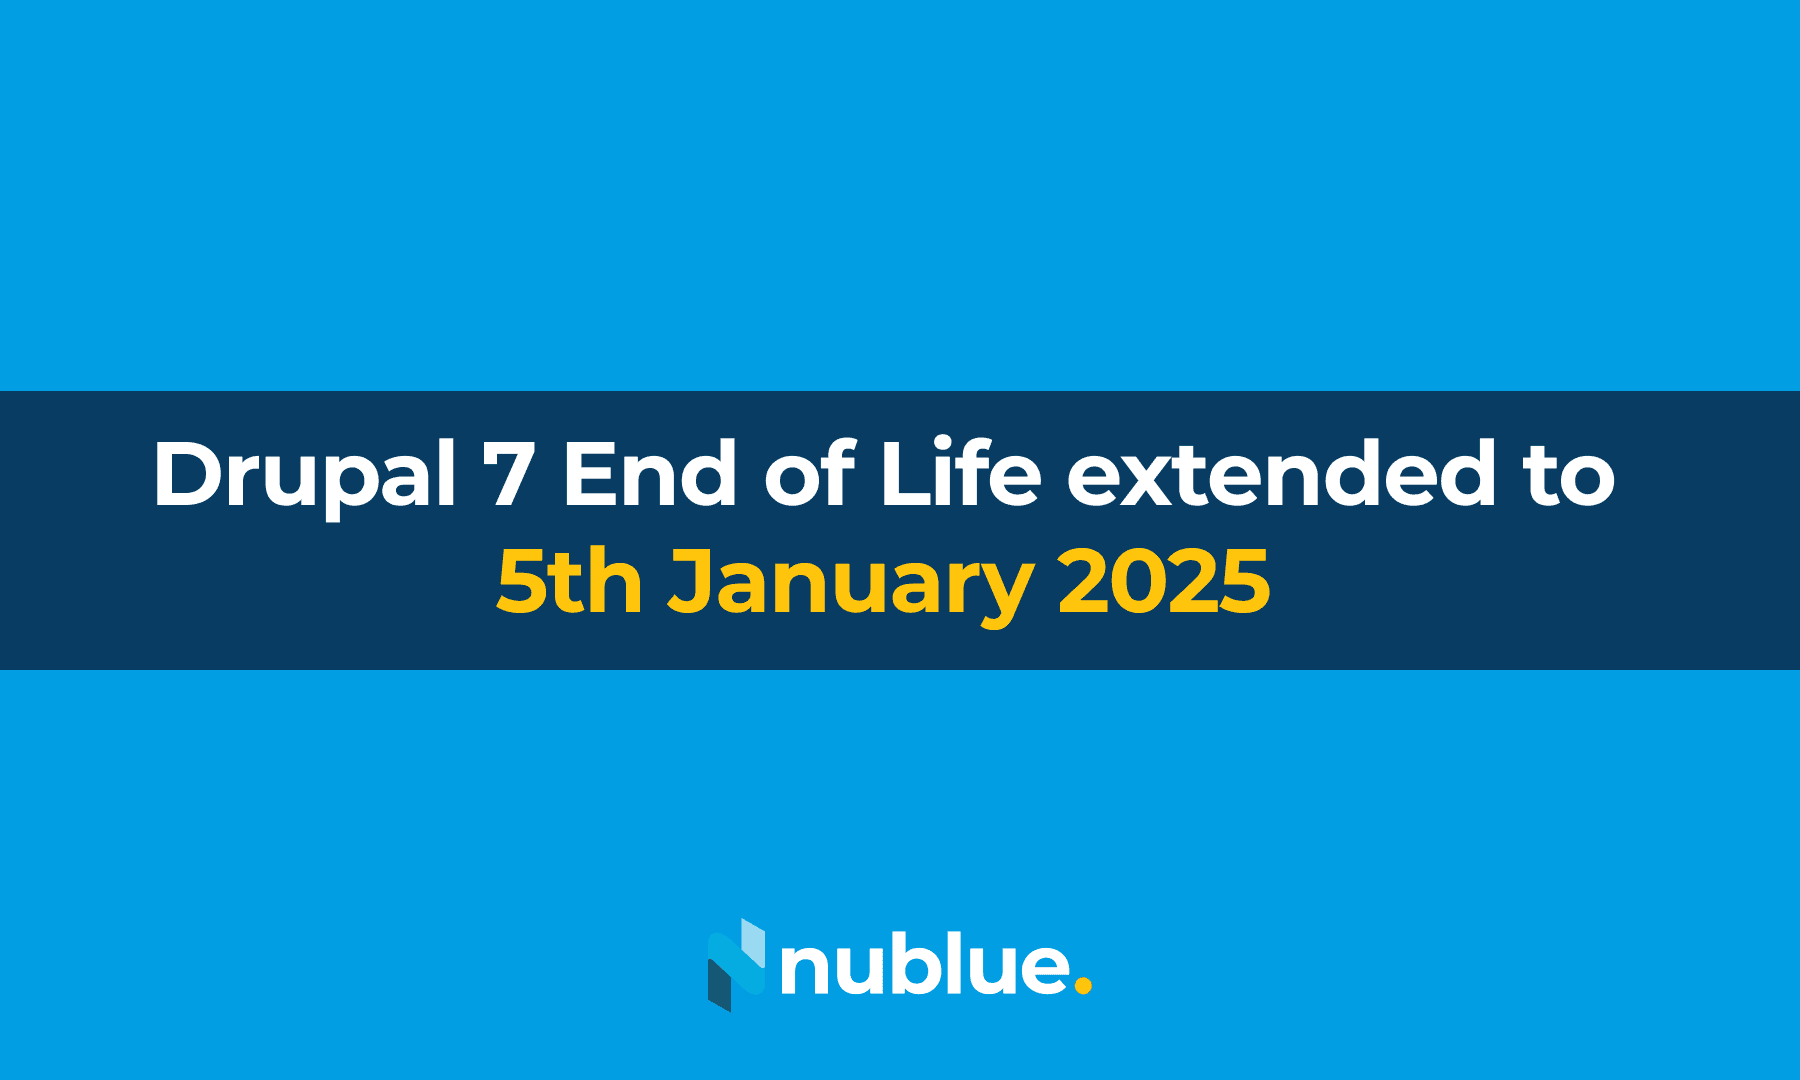
We have some important news to share with you about the end-of-life timeline for Drupal 7. While Drupal had previously announced an extension until November 1, 2023, we are thrilled…
In an age where online security is paramount, safeguarding your website is a top priority. As a website owner, you must protect your site from potential threats and vulnerabilities. One…
WordPress has been the fastest-growing content management system for 12 years in a row, according to W3Tech’s market report. Its popularity is attributed to its flexibility, ease of use, and…

For many agencies, Docker provides developers with a platform that frees them to focus on their applications right from the start without worrying about infrastructure configuration and dependencies. Once the…
The eagerly awaited, Drupal 10 was released December 2022; just under a year before Drupal 7 reaches end of life. With it, comes a few improvements and changes on previous…

Adding extra layers of authentication to your login process has become critical to protect user accounts, your assets and any data you hold. Cybercriminals have spent decades perfecting ways to…
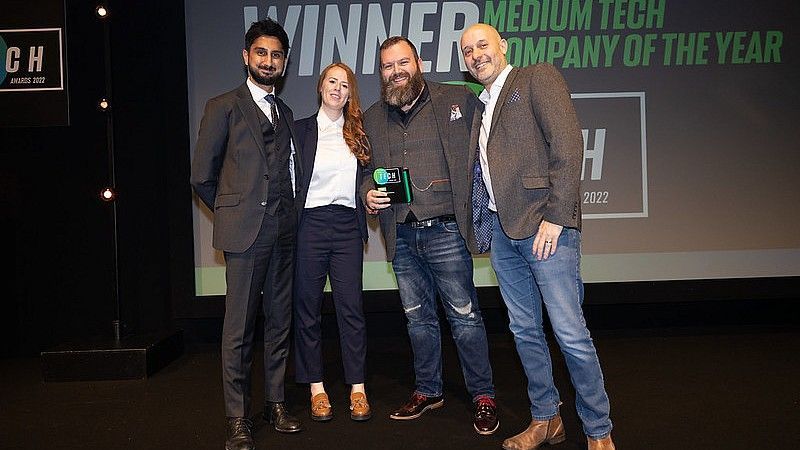
Double celebrations for the CTI Group as cti digital and Nublue win big at the prestigious Prolific North Tech Awards. The Prolific North Tech Awards celebrates the industry’s best and…
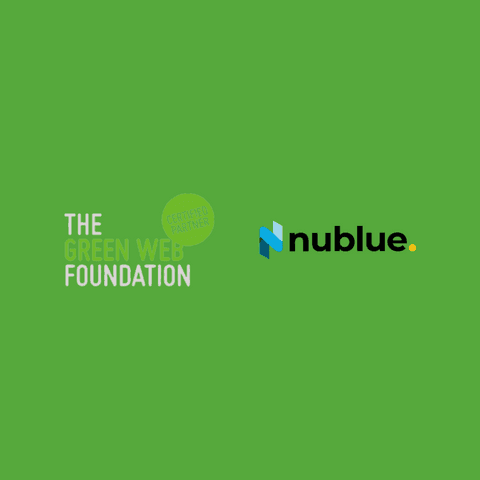
Nublue has joined the green web hosting directory established by The Green Web Foundation. Together we’re heading towards a Fossil-Free Internet by 2030 and helping our clients meet their sustainability…